小米Book Pro 14 Linux使用体验
Installing Arch Linux on Xiaomi Book Pro 14: Pitfalls, Fingerprint, and a Journey Through PAM
The reason I picked up this Xiaomi Book Pro 14 is quite simple: I already have a MacBook Pro that works great for my daily needs, but there are always things that a Mac either can't do or does awkwardly. I needed an x86 thin-and-light to handle the tasks that are "best done on x86."
As someone who can't stand leaving things stock, the first order of business with a new machine was, naturally, installing Arch Linux. I ran into a few pitfalls along the way and thoroughly dug into the fingerprint feature—something I’d never used before. I’m documenting it all here as a record for myself and a reference for anyone who encounters similar issues.
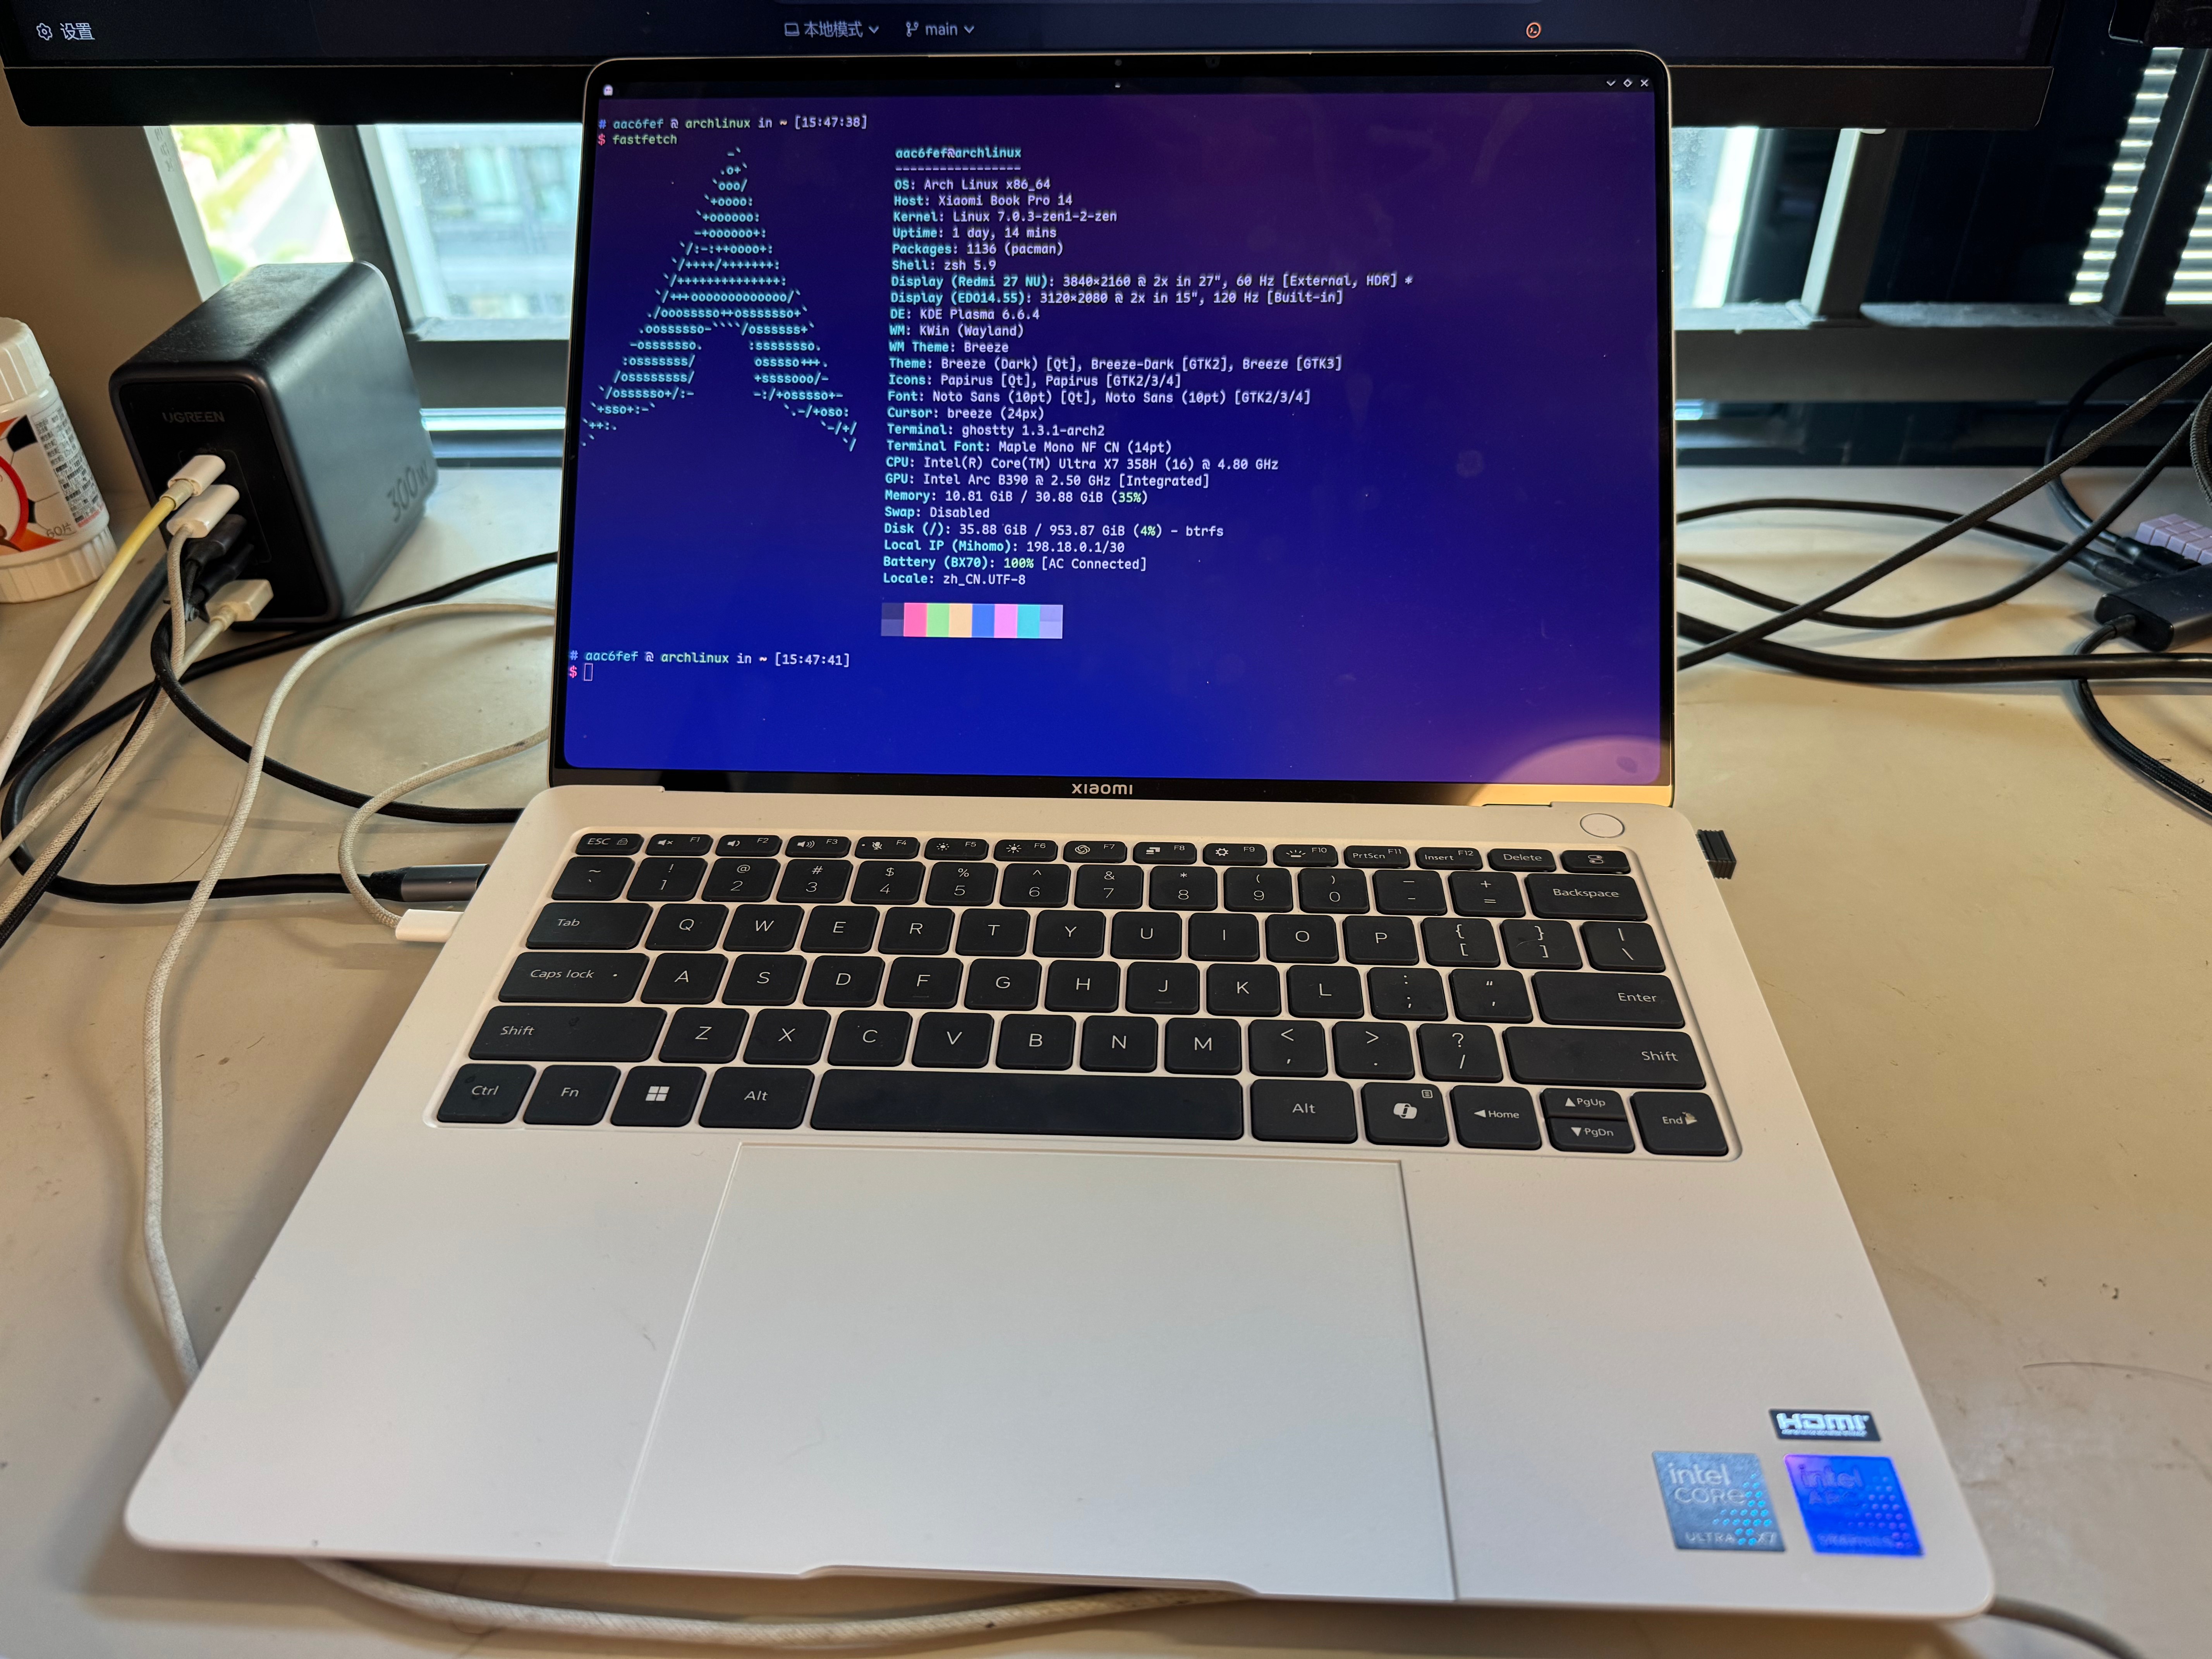
First, here are the specs of my unit:
- SoC: Intel Ultra X7 358H
- RAM: 32GB LPDDR5x 9600MT/s (Soldered)
- GPU: Intel Arc B390
Problem 1: Screen Artifacts
Right after the installation, the screen was glitching out. After some digging, the culprit turned out to be Intel's Panel Self Refresh technology.
The fix is straightforward—just add this line to your kernel parameters:
xe.enable_psr=0Problem 2: Keyboard Not Recognized
This one was even weirder: the keyboard worked perfectly in the BIOS and GRUB, but became completely unresponsive as soon as the system booted. Getting stuck here during the installation process is incredibly frustrating.
The solution, again, is to add kernel parameters:
i8042.nopnp=1 i8042.dumbkbd=1Once the screen and keyboard were sorted out, the system was basically usable. What follows is the part I spent the most time on—the fingerprint reader.
Fingerprint: The Main Event
Honestly, I'd never used a device with a fingerprint reader before, so I explored this area quite meticulously and hit many snags. It deserves its own write-up.
Why doesn't sudo pop up a fingerprint GUI like macOS?
This was the most irritating part of the whole ordeal. On macOS, sudo can use Touch ID. Why not on Linux?
It's not that "no one thought of it"; it's that the architectures are fundamentally different.
The authentication chain for sudo looks like this:
sudo → PAM → Terminal session or askpassThe beautiful KDE fingerprint authentication dialog, on the other hand, follows a different path:
App → Polkit → KDE Polkit Agent → PAM → fprintdThat GUI is provided by the Polkit agent. It doesn't spring forth from PAM itself, nor is it part of sudo. The PAM module can only participate in the authentication flow; it can't magically transform a terminal-based sudo prompt into a KDE-style identity verification pop-up.
Using sudo -A with SUDO_ASKPASS can indeed pop up a graphical password box, but that's still on sudo's own askpass track, which is separate from the KDE Polkit agent. So, at best, it makes the "enter password" step a GUI, but it can't bring over the fingerprint experience.
macOS can do it because Apple integrated sudo, PAM, Touch ID, the Secure Enclave, and LocalAuthentication at the system level right from the start. On Linux, these components belong to different projects and thus have no natural path to a unified experience.
A Key Limitation of pam_fprintd: The PAM Stack is Serial
There's another fundamental limitation with pam_fprintd: in a standard PAM stack, it and password authentication execute in series.
My initial ideal experience was something like this:
For a single sudo prompt, it would simultaneously wait for my password and my fingerprint, using whichever was provided first.
But in reality, this isn't possible. A login manager can use more complex methods to fire up multiple PAM sessions to simulate concurrency, but a regular sudo won't do that.
So, the real-world choices are limited to the following experiences:
- Option A: Fingerprint first, fallback to password on failure.
- Option B: Password first, fallback to fingerprint if you press Enter with an empty field.
- Option C: Only use the Polkit GUI, don't force fingerprint on sudo.
- Option D: Use a third-party hack module (not recommended—don't mess around with root authentication).
I eventually settled on Option B, but I tried Option A first. Let me explain why it flopped.
Option A: Fingerprint First, Fallback to Password (Post-Mortem)
My initial, intuitive configuration was this, in /etc/pam.d/sudo:
#%PAM-1.0

auth        sufficient  pam_fprintd.so max-tries=3 timeout=8
auth        include     system-auth
account     include     system-auth
session     include     system-auth
Logically, this looks fine: try the fingerprint first. If it succeeds, great; if not, it'll ask for a password.
But in practice, it broke. I deliberately let the fingerprint recognition fail, then typed the correct password, but sudo still would not let me through. The logs showed entries like this:
pam_unix(sudo:auth): conversation failed
pam_unix(sudo:auth): auth could not identify password for [...]
pam_faillock(sudo:auth): Consecutive login failures ... account temporarily locked
Meanwhile, fprintd was also complaining:
Device was already claimed
Verification was in progress, stopping it
It seems the interaction between sudo, the terminal PAM conversation, pam_fprintd, and the subsequent password stack gets into a messy state. After the fingerprint failed, the password fallback didn't take over cleanly, and it also increased the faillock failure count, temporarily locking my account.
The biggest danger with this kind of problem is that you're modifying the root privilege escalation entry point. If you bork /etc/pam.d/sudo and don't have another root channel, it's easy to lock yourself out.
My recovery method at that time was using a still-functional Polkit:
pkexec sh -c 'cat > /etc/pam.d/sudo <<EOF
#%PAM-1.0
auth        include     system-auth
account     include     system-auth
session     include     system-auth
EOF
faillock --user username --reset
systemctl restart fprintd
'
I suggest keeping this rollback method in mind: first, revert sudo to Arch's default password-only path, then clear faillock, and finally restart fprintd to release any lingering device claims. It's a lifesaver in critical moments.
Option B: Password First, Empty Enter for Fingerprint (My Current Setup)
I later switched to a different approach: the system presents a normal sudo password prompt, but if you just press Enter (submitting an empty password), it falls back to fingerprint verification.
My current configuration in /etc/pam.d/sudo:
#%PAM-1.0

# Prompt for password first; an empty password triggers a fingerprint attempt
auth        sufficient  pam_unix.so try_first_pass likeauth nullok

# Prevent fingerprint prompts in non-tty background sudo processes
auth        [success=1 default=ignore] pam_succeed_if.so service in sudo:su:su-l tty in :unknown
-auth       sufficient  pam_fprintd.so max-tries=3 timeout=8

# Arch's default fallback
auth        include     system-auth
account     include     system-auth
session     include     system-auth
The interactive flow goes like this:
[sudo] password for user:If you want to enter a password, just type it. If you want to use your fingerprint, press Enter on an empty field, and it will switch to:
Place your right index finger on the fingerprint readerThis approach feels more intuitive in the terminal than "fingerprint first," but it has its own little quirks.
The Catch with Option B: Empty Enter Can Leave a Failure Record
That "empty Enter" step inherently goes through pam_unix.so first. From pam_unix's perspective, an empty string is not a correct password, so it registers an authentication failure before the PAM flow moves on to pam_fprintd.
When you check faillock, you might see a record like this:
user:
When                Type  Source       Valid
2026-05-08 ...      TTY   /dev/pts/1   V
This means that even if the subsequent fingerprint authentication is successful, that initial empty Enter step might still be logged as a failed attempt.
So, if you go with this option, keep a few things in mind:
1. Don't set faillock's failure threshold too low. 2. Always leave a working root backdoor while debugging PAM, like a currently functional pkexec. 3. After consecutive failures, remember to check:
faillock --user "$USER"And manually reset it if necessary:
faillock --user "$USER" --resetAlso, a side note: if you want the most stable graphical privilege escalation experience, it's best to just prefer Polkit for daily use and not force everything through sudo.
KWallet: Why You Can't Unlock It with a Fingerprint
This is another common point of confusion.
The role of kwallet-pam is, when you log in with your password, to pass that login password to KWallet, allowing the wallet to be automatically unlocked with the same credentials.
There's a line in the logs that says it all:
pam_kwallet5(plasmalogin-autologin:auth): Empty or missing password, doing nothingThis line makes the problem crystal clear: an automatic or fingerprint-based login does not provide the plaintext "user password," so KWallet doesn't get the key it needs.
A fingerprint authentication only answers one question:
Is this person who they claim to be?
KWallet's decryption requires an answer to a different question:
What is the key or password used to open the wallet?
The fingerprint device won't spit out your login password; it only tells the system if the authentication was successful. Therefore, KWallet has no way to decrypt using a fingerprint alone.
There are a few ways to handle this:
1. Disable automatic login, log in with your password, and keep your KWallet password synchronized with your login password. 2. Accept reality and manually enter your KWallet password once after reaching the desktop. 3. Reduce wallet security, for instance, by using a wallet with an empty password—but this is absolutely not recommended, especially if you're storing important keys.
So, this isn't a case of KDE failing to connect things; it's that "authentication" and "decryption" are fundamentally two different things.
fprintd Device Contention Issues
During my tinkering, I also encountered this error:
Device was already claimed
Verification was in progress, stopping it
This usually means a previous verification didn't terminate cleanly, or several authentication requests are simultaneously trying to claim the same fingerprint device.
The fix is simple:
systemctl restart fprintdIf you lack sufficient user permissions, use your confirmed-working Polkit backdoor:
pkexec systemctl restart fprintdThis is also why I don't recommend configuring too many authentication entry points to automatically grab the fingerprint reader. The device can serve only one verification request at a time. When multiple PAM or Polkit requests compete for it, the resulting experience becomes incredibly erratic.
Final State Summary
After all that tinkering, here's the current fingerprint and authentication configuration for this machine:
- fprintd: Correctly identifies the Goodix device. I have enrolled my right index finger.
- KDE User Settings: Fingerprint can be managed through
kcm_users. - Polkit: Prioritizes fingerprint, falls back to password on failure.
- kio-admin: Installed, allowing graphical root file operations via the
admin://protocol. - sudo: Asks for password first; pressing Enter on empty triggers a fingerprint attempt (max 3 tries).
- Plasma Login Manager: PAM is configured for fingerprint, but auto-login bypasses it.
- KWallet: Cannot be unlocked with a fingerprint alone.
Conclusion
The Linux compatibility of this Xiaomi Book Pro 14 is far better than I imagined. The few issues I faced all had clear causes and solutions, and in general, it's been a very smooth experience.
Another feeling I have is that tinkering with systems is much faster than it used to be. In the past, I'd have to dig through piles of ArchWiki entries and man pages for a problem. Now, you can just ask ChatGPT "how to fix xxx," and the efficiency is on a whole different level. This time, I even used OpenAI Codex, making the overall debugging process smoother by orders of magnitude.